What Is Aperture?
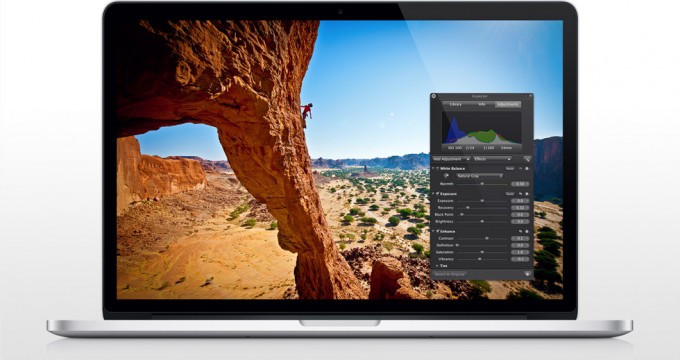
Aperture is one of the best creations of Apple. It is capable of ushering the workflow. The application might seem a bit complicated. You have to understand that Aperture is merely a tool and it is your responsibility to create a workflow according to your requirements. Once you have taken the pictures, you have to download them somewhere. That’s when you will need Aperture. It is an application to manage photos.
Getting Started – Importing

Aperture Tutorial #2 – Importing
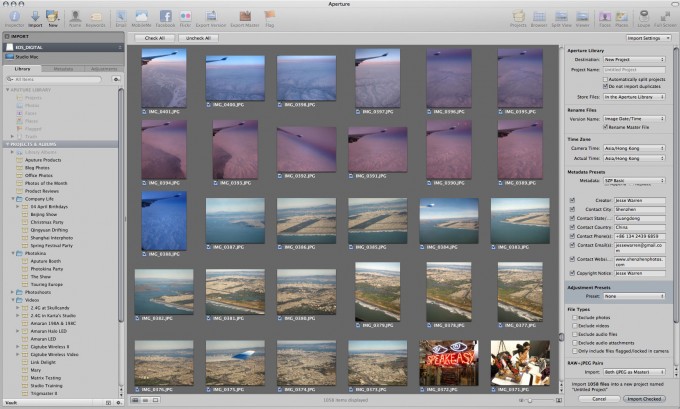
Initially you have to import the photos from Aperture to an album. Firstly, choose a location to place the album and right click to choose “New Album”. Since there is a location for the photos, you can start importing the photos. All you need to do is insert your memory card into the reader and choose the photos to be imported. Then press the arrow that leads to your album. The photos will be imported to Aperture.
File Management

Tutorial – Organizing a Photoshoot with Aperture
Once the photos are imported, you can erase them and eject the card. That will help in providing some free space in your memory card. Sometimes, it may happen that you may choose to erase the photos by mistake. In order to prevent such mishaps, Aperture will always ask to confirm what you have chosen. So you need to confirm that you want the photos to be erased. Once all the photos are imported, it is better to go through each picture and rate it accordingly. The good thing about Aperture is that you can rate it according to your choice. There is the added advantage of convenience.
Manage Meta Data

Advanced Aperture: Mastering Metadata
The more you evaluate your work, the easier it becomes for you to go ahead with your chores. It will be beneficial especially for those who perform the job of publishing photo shoots. It is very important to keyword the photos before making any changes in them. If you fail to create keywords, you are bound to get confused with so many new versions of the original photo. Moreover, it becomes a daunting task to allot keywords after making the changes in the original version. It would have been easier if a tick box was provided along with each keyword.
The traditional dragging technique is fine if there are fewer photos, but it becomes a time consuming task when there are more number of photos. The disadvantage of Aperture is that you can’t choose a set of photos and keyword them in an instant. You have to perform this task separately for each and every single photo. I wish Apple could make some changes regarding this issue in its upcoming versions. At present, you need to provide a keyword to one photo and make use of the lift and stamp option to copy this keyword to other photos.
Editing Photos

8 Steps to Developing a Better Workflow in Aperture
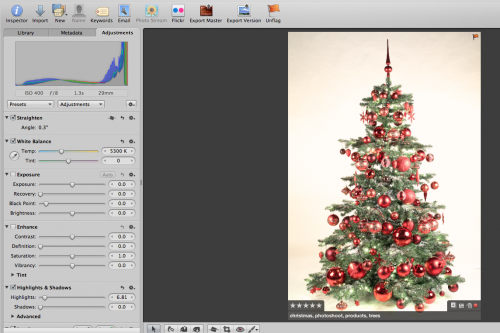
You can make adjustments to the best photos that are rated 4 stars or above. Finally the full screen mode is where you can adjust the photo to suit the screen in Aperture. Don’t switch back and forth to the full screen mode as it might affect the performance of Aperture. It is possible to make adjustments in Aperture’s HUD by pressing the ‘H’ key. There is also the option to auto adjust the image. You have an option called as Monochrome Mixer which can help make the needed changes and bring back the image to its original color.
You can even change the Highlights and shadows to add life to the image. After several such adjustments, you can export the photo to Flickr or share it with other communities.


