Summary: Have you bought a new hard drive and want to format it before using it? Formatting a hard drive resets it to its default state and eliminates problems with its file system. If you’re looking for help with hard drive formatting, this article will help you understand the whole process so that you don’t encounter any issues.
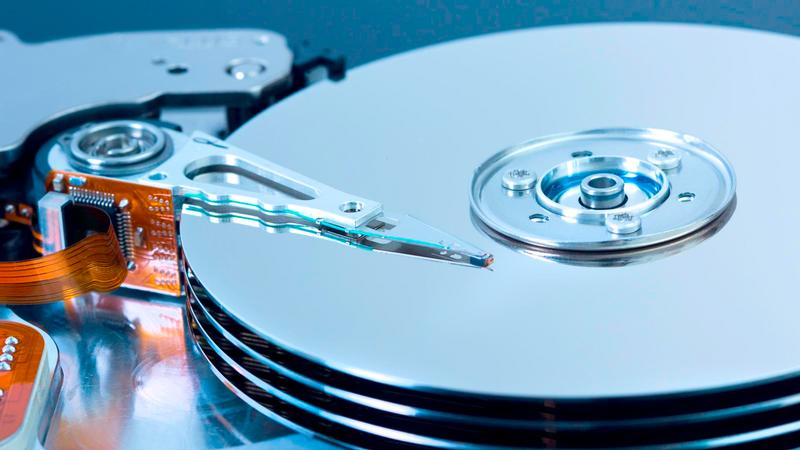
Whenever you buy a hard drive (internal or external), it needs to be completely clean; only then can you use it from scratch because every operating system uses a different file system. The most common technique of ensuring a hard drive is wiped clean is formatting it. Hard drive formatting resets its internal file system to use a particular format such as FAT32, NTFS, EXT4, etc. For a particular file, the format determines how precisely individual data bits should be kept on the drive.

If you’ve purchased a brand new hard drive, you may be safe from data threats, but in the case of a second-hand purchase, it becomes critical to format internal hard drive as the previous user could’ve left bloat-ware, malware, or viruses in it. Formatting will ensure that the drive is wiped clean before you plug it into your computer.
We know all that could sound complicated, but formatting an internal drive is actually quite simple. Just follow this article to learn the easy steps to do it.
First things first – secure your data before formatting
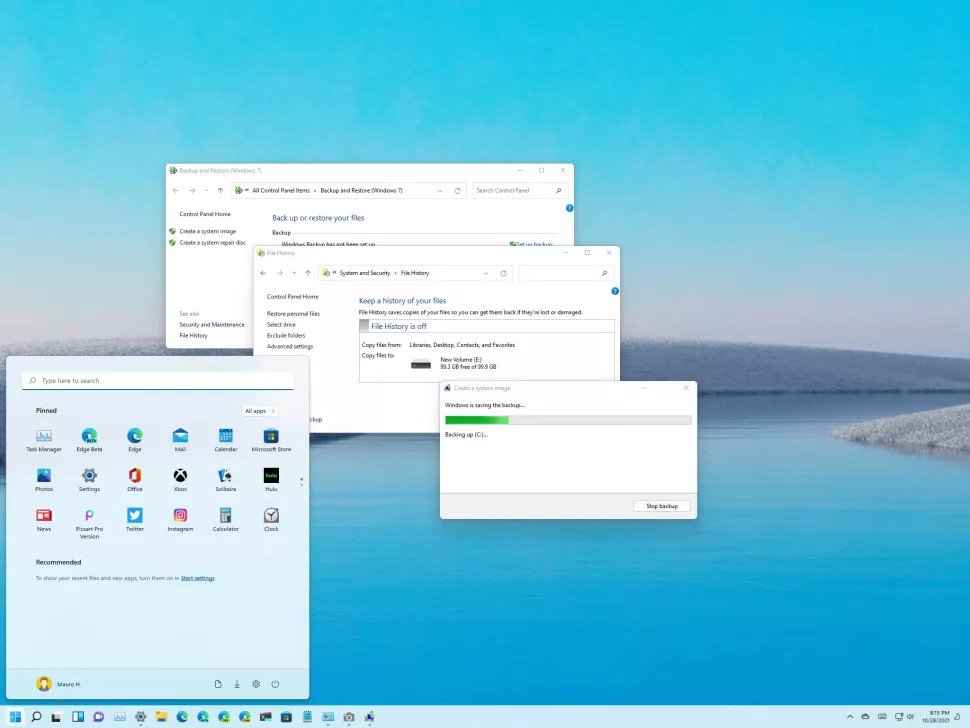
If you’ve already stored some data on a new internal drive before formatting, or you are going to reformat your old drive to use on a different operating system, make sure you have backed up all your files before beginning the process. When we format a hard drive, the data stored on it gets erased for practical purposes, which is why backing it up becomes very important.
That being said, data is technically erased from hard drives in such a manner that in case of a glitch like an interrupted backup, corruption, or missing backup, you can recover the files you’ve lost due to formatting using a few sophisticated methods. That means that even if you forget to back up your data before kick-starting the formatting process, you don’t have to worry. You can use any competent data recovery software to recover data from internal hard drive.
Though several tools are available that can help you with the purpose, we trust and recommend Stellar Photo Recovery to easily regain lost photos, media, and other important files from formatted hard drives. Stellar Photo Recovery is an efficient application that can recover multiple file formats such as JPEG, MOV, MP4, MP3, RAW, GIF, WAV, etc., from different storage devices. It works flawlessly on Windows and Mac, and supports the recovery of 4K, 8K, 360, Insta360, Red Weapon DSMC2 Brain, Rylo 360, and more kinds of files. So if you accidentally end up losing a couple of files during formatting, you can simply use Stellar Photo Recovery to restore your media files.
Now, let’s proceed to the part you’ve been waiting for – how to format a new internal hard drive.
Process of formatting HDD or SSD in Windows
To format new internal hard drive on Windows, you just have to follow the below-mentioned steps in the given order:
- Press Win + X keys to launch the Power menu and then click on Disk Management option.
- From the list of volumes, locate the drive you want to format, for example, Drive D: or C: (the recommended option is usually C: drive), and right-click on it.
- From the pop-up menu that appears, select the Format option.
- Now in the dialog that appears, choose the appropriate settings. For instance, select the correct file system (usually NTFS) and enter the “Allocation Unit Size” (which is usually 4096). You can also leave the size at its default value.
- After setting everything, you can check the option to “Perform a Quick Format,” but you should know that this option isn’t 100% accurate when it comes to erasing all content on the drive. Thus, it is recommended that you leave the option unchecked and proceed with Standard Format.
- At last, click OK, and you’ll see a warning reminding you to take a backup of all your important data before proceeding. If you’ve already done this, click on OK again, and the formatting will start.
- After this, all you need to do is wait until the process is completed. Please note that it can take several minutes to a few hours to finish. Avoid interrupting the process in the middle. Once the process is completed successfully, you can use the drive as clean and new.
Tip: You should always keep your hard drives well organized. Never ignore the importance of refreshing your system and the attached hard drives time to time for an optimal performance.
Something to remember
Every device has a lifespan, and hard drives are no exception. HDDs and SSDs come with data management inefficiency, which can catch up to them over time. Thus, always observe the warning signs of a dying HDD or SSD before it’s too late.
Before your hard drive starts to fail, make sure you extend it with regular maintenance and keep as much space free as possible. And the most important thing is to take backups of your data before the drive becomes completely useless.
To Conclude
Formatting a hard drive is crucial and should always be performed with care. When you buy a new internal drive, it is essential to format it before using to ensure your system doesn’t become infected with unwanted programs. Hope this article helped you understand how to format a new internal hard drive.
Always remember, you shouldn’t ignore the need of taking a proper backup beforehand, because in case you lose a few important files due to formatting, the backup can help you recover them. However, if you miss taking a backup, you don’t need to worry. Stellar Photo Recovery can help you regain all your lost files in a few clicks.